How to Use Kartra with WordPress
How to Use Kartra With WordPress + Bonus and Tutorial — affiliatemarketingmc at YouTube.com.
Kartra is a really cool software that puts you in charge of everything. Today we’ll talk about how to integrate your WordPress blog with the Kartra software.
What Does Kartra Do?
It allows you to:
- Build a mailing list
- Follow up with your mailing list
- See stats and analytics (that no other software has)
- Find out who’s responding and who’s not responding
- Put people in different groups and categories
- Sell stuff
- Set up membership sites
- Have videos
- And more!
Kartra not only is a shopping cart with click funnels and everything, but it actually has the HTML embed codes so you can put everything directly on your site, exactly how you want it.
Now for me, as a WordPress site owner, this is a dream come true, because now I can control everything. I’ve been doing this since about 2009 with WordPress, and I’ve been doing affiliate marketing since about 1999, and this is the biggest thing I’ve ever seen.
Before now, I’ve had to do all this stuff by hand, which means since 2009 I’ve had to code everything myself, or have a programmer, get different codes from different autoresponders, have codes from different shopping carts, have buttons on different servers, etc. It’s been a mess. And what Kartra allows me to do is have everything in one spot, paste it into my WordPress, and I’m ready to go.
You can have different forms on different pages, as shown below:
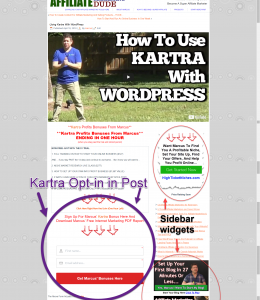
You can even have forms right inside your posts.
Where Can I Find It?
You can get this software at www.KartraProfits.com.
How Do I Use It?
Now, let’s take a closer look to see how this happens.
Different Forms on Different Pages
What if you want to have different forms on different pages?
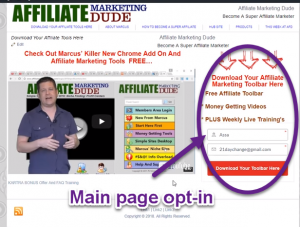
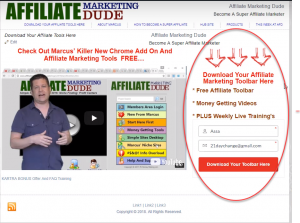
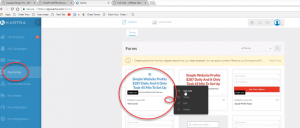
You can see here I have my Kartra opt-in form right here on the main page.
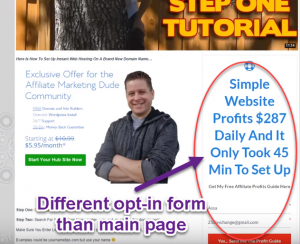
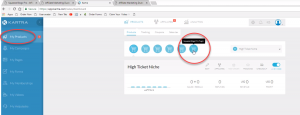
But if we go over to the hub site page, you’ll notice there is no opt-in form here.

So let’s say that I want to add a different opt-in form here. I would go to Kartra, go to the My Forms page, click on the form that I want, and I can go get the code.
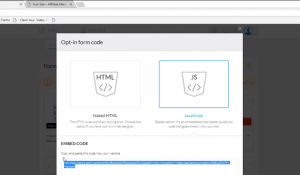
I want to use this fancy little website one here. I click “Get code – JavaScript” and copy the code.
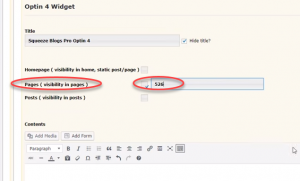
Then I go into my website and find the Squeeze Blogs Pro plugin. I add a new widget inside the plugin.
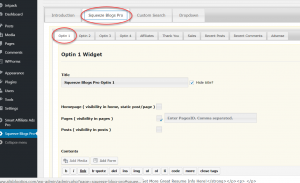
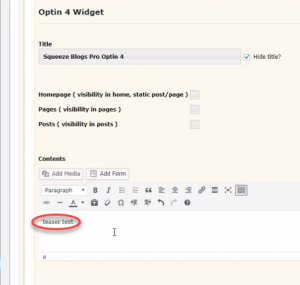
If I like, I can put some teaser text inside the Contents section to get visitors to opt-in, or I can leave it blank if I just want to use what’s on the form.
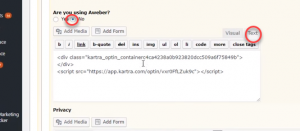
Under Contents, it asks me if I’m using Aweber. I select “No” and paste the code into the text box.
Then I can choose the page where I want the form to be displayed. I do that by finding the Pages section and entering the page I want to use.
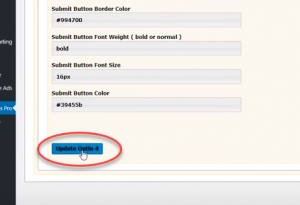
I scroll down and hit the “Update” button.
Now I have an opt-in right there, and it’s a separate one from what’s on my main page.
Order Forms
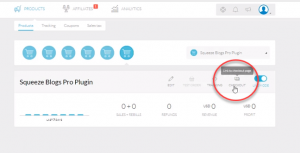
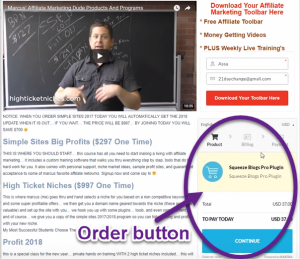
Maybe instead of an opt-in form, you want to allow someone to order something directly on your site. So on Kartra, go to the My Products page, and select the product that you want visitors to order.
Let’s say you want people to order the Squeeze Blogs Pro plugin. This will give you the code to display the order form on your page.
Then you copy the code and paste it into your own Squeeze Blogs Pro plugin on your website.
If you don’t want to embed it into a post, you can display it as a widget on the side of the page. Go to the Sales icon on your Squeeze Blogs Pro plugin.
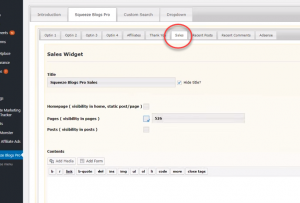
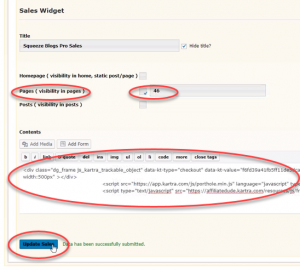
In the Pages section, select the page where you want the form to be displayed. Then paste the code in the Contents section and hit “Update”.
Now you have an order button, and people can order the product right on your blog.
Order Form Button Pop-Up
Instead of displaying the order form itself, you might want to just have a button that leads to a pop-up order form.
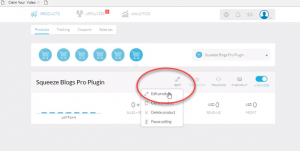
Back on Kartra, go again to the My Products page, and select the product that you want visitors to order. We’ll still use the Squeeze Blogs Pro example.
Now hover your cursor over “Edit”. Click on “Edit product”.
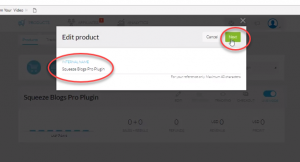
A pop-up will display confirming that you selected this product. Click “Next”.
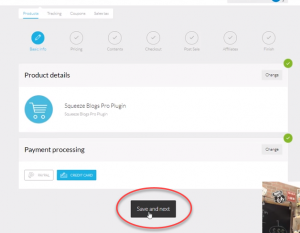
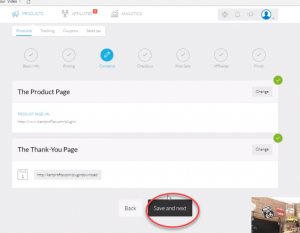
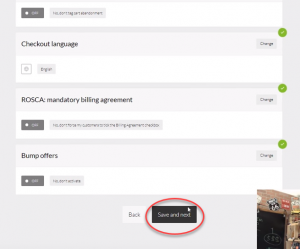
On the next page, you will move through the Basic Info, Pricing, and Contents sections. Keep verifying the information and clicking on “Save and next” until you arrive at the Checkout section.
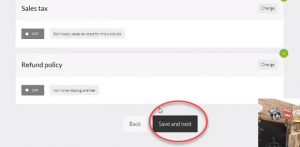
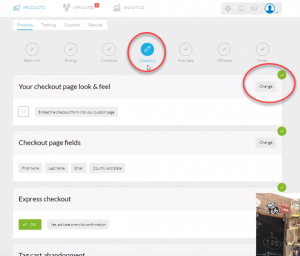
Then you’ll arrive at the Checkout section. Under “Your checkout page look & feel”, click the “Change” button next to it.
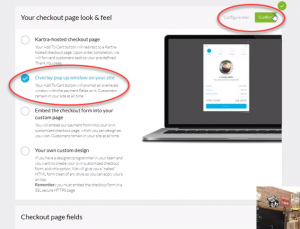
You can choose how you want the form to show up. Select “Overlay pop up window on your site”. Select “Confirm” on the top right corner of the box, and select “Save and next” at the bottom of the page.
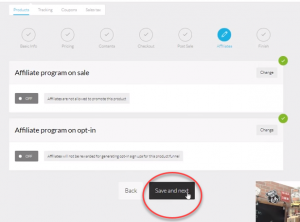
Keep verifying the rest of the information, clicking on “Save and next” at the bottom until you get to the end.
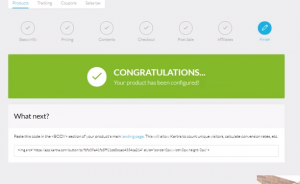
Now the product has been reconfigured to display as a pop-up window. You just need to get the new code to paste onto your site.
Go to the My Products page and select the product you want to display (The Squeeze Blogs Pro plugin).
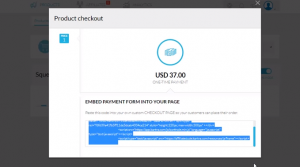
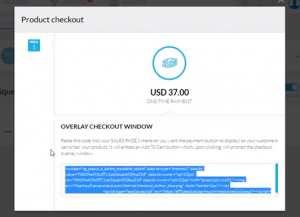
Click on “Checkout”.
Copy the new checkout code for the pop-up button.
Paste the code into your Squeeze Blogs Pro plugin, just as you did before.
In your Squeeze Blogs Pro plugin, you can decide which pages or which posts you’d like the button to be displayed on.
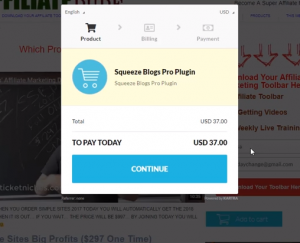
Here you can see the new button on the sidebar of one of my site pages.

When someone clicks on the button, a secure window pops up for the customer to purchase the product.
To learn more, get this software, and get some great bonuses, check out www.KartraProfits.com.
For more information, visit www.AffiliateMarketingDude.com.
.
.
.
.